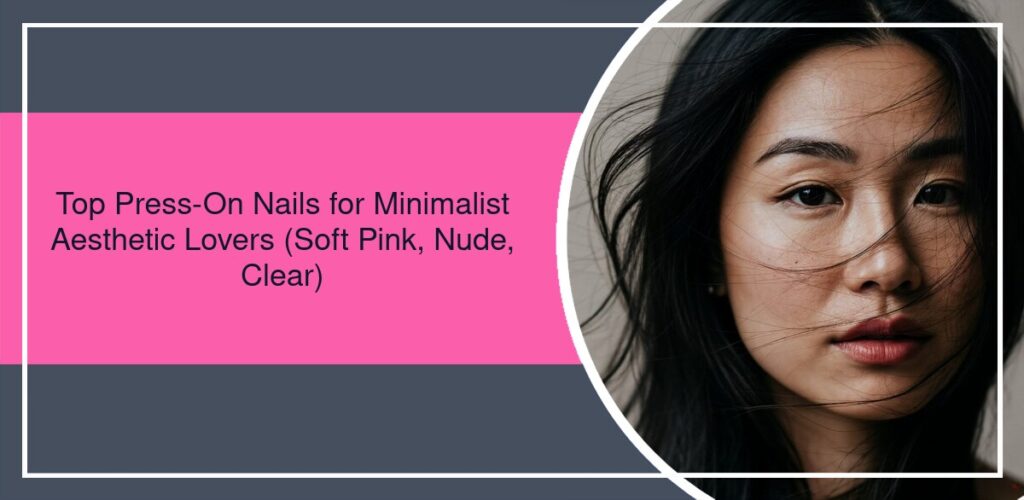
When Less Is Actually More (And Why I’m Obsessed)
Honestly, I used to be that girl with the glitter ombre and rhinestones on every finger. Weird, I know. But after having my daughter and realizing I spend half my life wiping sticky fingers or digging through toy bins, my nail aesthetic did a complete 180. Now? Give me a clean, soft pink mani that looks like I just stepped out of a spa, even if my kitchen looks like a tornado hit it. That’s the magic of minimalist nails—they’re quietly confident, always appropriate, and somehow make you look put together even when you’re running on three hours of sleep.
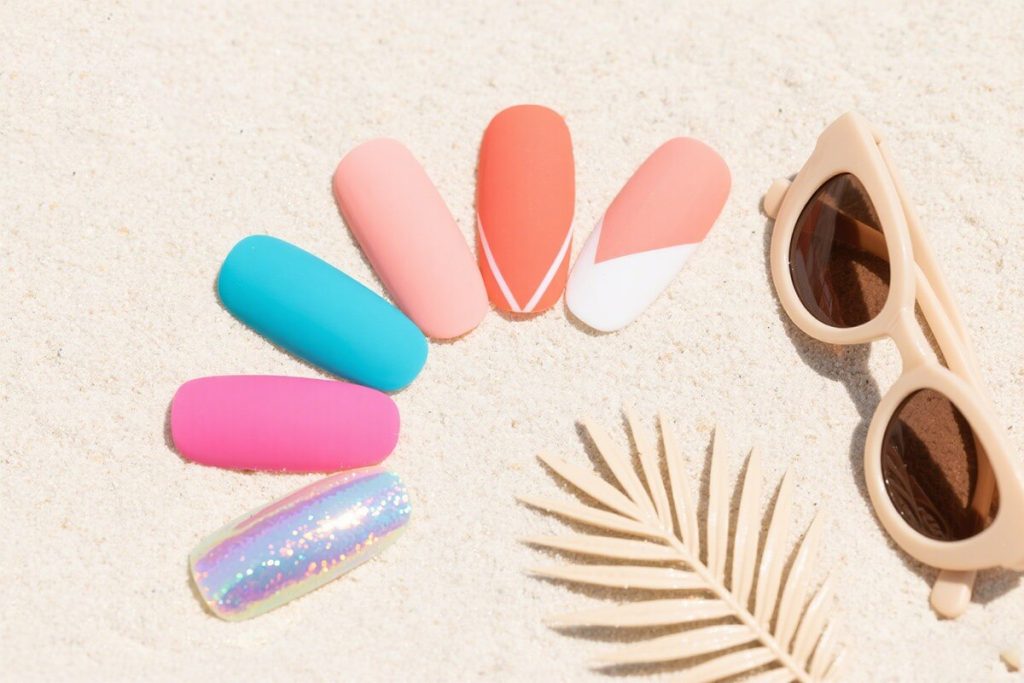
And let’s be real: not all “minimalist” press-ons are created equal. Some look cheap. Some are too opaque. Some have that weird plastic shine that screams FAKE from across the room. After testing more sets than I can count (my bathroom drawer is basically a press-on nail museum at this point), I’ve found the absolute winners in three categories that never fail: soft pink, nude, and clear.
The Soft Pink Sweet Spot: Not Too Blush, Not Too Barbie
Finding the perfect soft pink is like finding the perfect pair of jeans—it’s a journey. Too pale and you look washed out. Too bright and suddenly you’re back in 2012. The ideal soft pink has a whisper of color, almost like your natural nail bed but better. It should have subtle warmth without being peach, and enough opacity to cover imperfections but still feel translucent.
My current obsession? The Eleglara Blush Whisper set. Don’t ask me why, it just works. The color is this gorgeous barely-there pink with the tiniest hint of mauve that makes your hands look instantly more elegant. And the Jelly Gel formula means they have this beautiful depth—not flat at all—that catches the light in the most delicate way. I wore these to my cousin’s wedding last month and three people asked me what salon I went to. When I said they were press-ons? The look on their faces was priceless.
Pro tip from someone who’s made every mistake: with soft pinks, the shape matters SO much. Almond or oval shapes keep it modern and feminine. Square tips can accidentally veer into “office manager 2005” territory unless they’re super short. And always, always go for the matte or satin finish over glossy for that truly minimalist vibe. Glossy soft pink can sometimes read as “little girl’s play nails” which is… not the goal.
Nude Nails: Your Skin But Better
Okay, confession time: I used to think nude nails were boring. Like, why bother? Then I tried the right shade for my skin tone and it was a revelation. A good nude nail doesn’t disappear—it elongates your fingers, makes your hands look expensive, and goes with literally everything in your wardrobe. It’s the LBD of nail art.
The key here is undertone matching. If you have cool undertones (veins look blueish, silver jewelry flatters you), lean toward nude shades with a pink or taupe base. Warm undertones (greenish veins, gold jewelry looks better)? Go for nudes with peach or beige notes. Neutral? Lucky you—almost everything works.
For my neutral-to-warm skin, I keep reaching for Eleglara’s Barely There collection. Specifically the “Warm Sand” shade. It’s this beautiful beige that doesn’t pull orange or yellow, which is a miracle because so many “nude” press-ons end up looking like you dipped your fingers in foundation. The 24 pieces per box is a game-changer too—I can customize the fit perfectly for my wider thumbnails (thanks, genetics) without worrying about running out.
Here’s a tiny personal story: I wore nude press-ons to a big beauty industry event last year, and a magazine editor actually stopped me to compliment my “natural manicure.” When I told her they were press-ons, she asked for the brand. That’s when you know you’ve found a winner—when even the professionals can’t tell.
Clear Press-Ons: The Invisible Magic Trick
Clear nails are the unsung heroes of the minimalist world. People sleep on them because they think “clear” means “boring,” but hear me out: a perfectly applied clear press-on gives you that flawless, uniform nail shape and length while looking like you were just born with amazing nails. It’s the ultimate low-key flex.
The trick is finding clear nails that aren’t actually crystal clear—you want that very slight milky or smoky transparency that mimics real nail plates. Totally clear plastic looks artificial and shows every tiny bubble or imperfection in the adhesive. Been there, hated that.
My go-to for years has been clear nails with a subtle “jelly” look. They have this beautiful depth that makes them look like healthy natural nails. And because they’re VOC-free (important for this pregnant-with-my-second mama!), I don’t worry about fumes when I’m applying them during my daughter’s nap time. Beginner-friendly is an understatement—if you can mess these up, I’d be impressed.
Weird thing I’ve noticed: clear nails actually make nail art pop if you’re feeling slightly adventurous. A single tiny gold stripe at the cuticle? Perfection. A microscopic dot design? Chef’s kiss. You get the interest without the commitment of color.
Application Secrets They Don’t Tell You
After applying probably hundreds of sets (no exaggeration), I’ve learned that application makes or breaks the minimalist look. Thick, gloopy glue that squirts out the sides? Instant giveaway. Nails that don’t sit flush with your cuticles? Everyone can tell.
My process: First, prep is everything. Push back cuticles gently, lightly buff the nail surface (just to remove shine, not sand it down!), and wipe with alcohol. Then—and this is crucial—size ALL your nails before applying any glue. Lay them out in order. Nothing ruins the minimalist aesthetic faster than realizing your pinky nail is too big halfway through application.
When applying glue, less is more. A tiny bead in the center of your natural nail, plus a thin line along the cuticle edge of the press-on. Press from cuticle to tip, holding for 30 seconds. The Eleglara adhesive tabs work surprisingly well too if you’re nervous about glue or want something temporary.
Side thought: I love that these are safe for pregnancy. When I was pregnant with my daughter, I had to give up my gel manicures because of the UV light and chemicals. Discovering quality press-ons that gave me that polished look without worry was literally a game-changer for my third-trimester self-esteem.
Making Them Last: Real Talk From a Busy Mom
Okay, let’s address the elephant in the room: longevity. You want these beauties to last more than two days, especially when you’re chasing a toddler or typing all day for work. Here’s what actually works versus what’s just internet hype.
First, avoid water for at least an hour after application. I know, I know—but really. That means no dishes, no long showers, no washing your hair right after. The adhesive needs time to cure properly. I usually apply mine after my daughter’s bedtime while watching TV.
Second, wear gloves when doing dishes or cleaning. Not the cute kind—the rubber kind. Water is the enemy of press-on longevity, and soapy water is public enemy number one. It weakens the adhesive and gets underneath, creating that milky white line that gives everything away.
Third, be gentle with your nails. They’re not tools! Don’t use them to open cans, pick at labels, or type with excessive force. I’ve learned to use the pads of my fingers instead of my nails for typing, and it’s made a huge difference in how long my sets last.
Honestly, with good application and a little care, I regularly get 10-14 days out of my minimalist sets. The simpler designs seem to last longer than the heavily decorated ones anyway—less to catch on things or chip.
When Minimalist Doesn’t Mean Boring
Sometimes you want just a *hint* of something extra, and that’s where minimalist nail art comes in. The beauty of starting with soft pink, nude, or clear bases is that you can add tiny details that feel special without overwhelming the clean aesthetic.
My current favorite: a single vertical chrome stripe down the center of a nude nail. Or a tiny pearl decal placed off-center on a soft pink nail. Or clear nails with the tiniest French tip imaginable—we’re talking 1mm of white, max.
The key is restraint. Choose one accent nail (usually the ring finger) or do the same tiny detail on every nail. Don’t mix five different ideas. Minimalist nail art should feel intentional, not chaotic.
And if you’re nervous about doing nail art on press-ons? Do it before you apply them! Lay the nails out on a table, decorate them, let everything dry completely, then apply. It’s so much easier than trying to work on your already-applied nails.
Final Thoughts From Your Nail-Obsessed Friend
At the end of the day, minimalist nails are about confidence. They’re about looking polished without screaming for attention. They’re the manicure equivalent of a perfectly tailored white shirt or that one lipstick shade that always makes you feel put together.
Whether you choose soft pink, nude, or clear, the goal is the same: nails that look like they belong to you, just the most perfect version of your nails. They should complement your style without dominating it, enhance your hands without distracting from them.
After years in this industry and trying literally every trend that comes along, I keep coming back to these quiet, elegant styles. They work for school drop-off and date night, for Zoom meetings and girls’ brunches. They make me feel like I have my life together even when my car is full of Goldfish crumbs and my to-do list is longer than my arm.
And isn’t that what we all want from our beauty routines? Something that makes us feel good without adding more stress to our already busy lives. These minimalist press-ons deliver exactly that—beauty, simplified.