Why I Switched to Press-Ons (And Never Looked Back)
Okay, confession time. I used to be that person who booked salon appointments weeks in advance, spent hours getting acrylics, and then groaned when they started lifting after a week. Then I had my daughter, and suddenly those three-hour nail sessions felt… impossible. Weird, I know, but motherhood changes your beauty routine in ways you never expect.
That’s when I discovered modern press-on nails. And honestly? They’ve completely changed how I think about manicures. The technology has come SO far from those clunky, obviously fake nails we remember from the 90s. Today’s sets? They look professionally done. Like, “did-you-just-come-from-the-salon?” good. But with zero drying time, no harsh smells (more on that later), and about a tenth of the cost.
As someone who’s been in the beauty industry for over a decade, I’ve tried literally hundreds of brands. Some are amazing, some are… well, let’s just say they belong in the past. Today I’m sharing my absolute favorite sets—the ones that consistently get me compliments and make people do a double-take when I say they’re press-ons.
What Makes Press-Ons Look “Professional” Anyway?
Before we dive into my top picks, let’s talk about what separates the “meh” sets from the “WOW” ones. Because not all press-ons are created equal, and I’ve learned this through trial and error (and some embarrassing moments where nails popped off at inconvenient times).
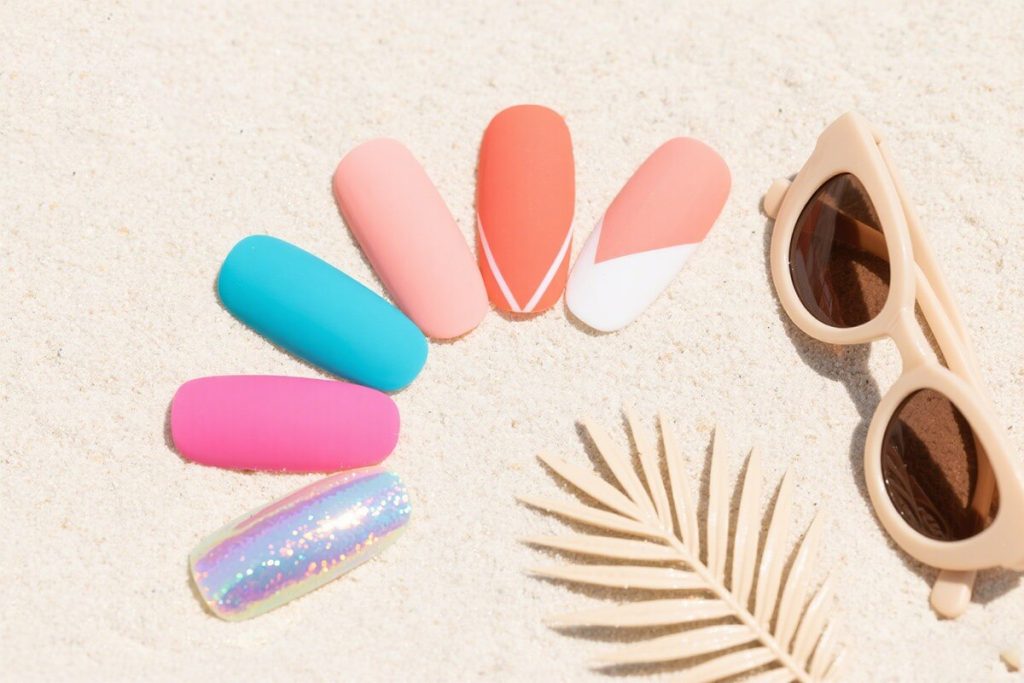
First: thickness matters. Too thick and they look like little plastic shields on your fingers. Too thin and they feel flimsy. The sweet spot is what I call “Jelly Gel” thickness—flexible but substantial, with that beautiful gel-like shine that mimics a professional manicure. It’s that perfect balance that makes people think you spent $80 at a salon.
Second: the shape and fit. Professional-looking nails aren’t one-size-fits-all. They should follow the natural curve of your nail bed, with tapered sides that don’t look bulky. And the sizing! Having multiple sizes in one set is non-negotiable. My pinky nail is tiny, my thumb is… not. A good set accommodates all of that.
Third: the adhesive. This is where so many brands fail. The glue or tabs need to be strong enough to last but gentle enough that you’re not damaging your natural nails. I’m particularly careful about this because, as a mom, I’m constantly washing my hands, doing dishes, and playing with my kid. My nails need to survive real life.
My Top 10 Professional-Looking Press-On Sets
Alright, let’s get to the good stuff. These are in no particular order—they’re all winners for different reasons. And yes, some are from Eleglara (I work with them because I genuinely love their products, but this isn’t a sponsored list—these are my honest favorites).
1. The “French Manicure That Lasts More Than 2 Days” Set
French tips are classic for a reason, but traditional French manicures chip so quickly. This set gives you that crisp white tip with a natural-looking nude base, and the shape is perfection—not too square, not too round. Just elegant. I wore these to a wedding last month and three different people asked which salon I went to. The secret? The tips are slightly thicker at the edge, which prevents that annoying chipping that happens with painted French manicures.
2. The Almond-Shaped Gel Look
If you want that trendy, Instagram-worthy almond shape without spending hours at the salon, this is your set. The taper is gradual and natural, not pointy or aggressive. And the shine! It’s that perfect gel shine that doesn’t look plastic-y. I love these for when I want to feel a little extra fancy without actually putting in extra effort. Pro tip: file the sides just a tiny bit to customize the shape to your fingers. It makes them look even more natural.
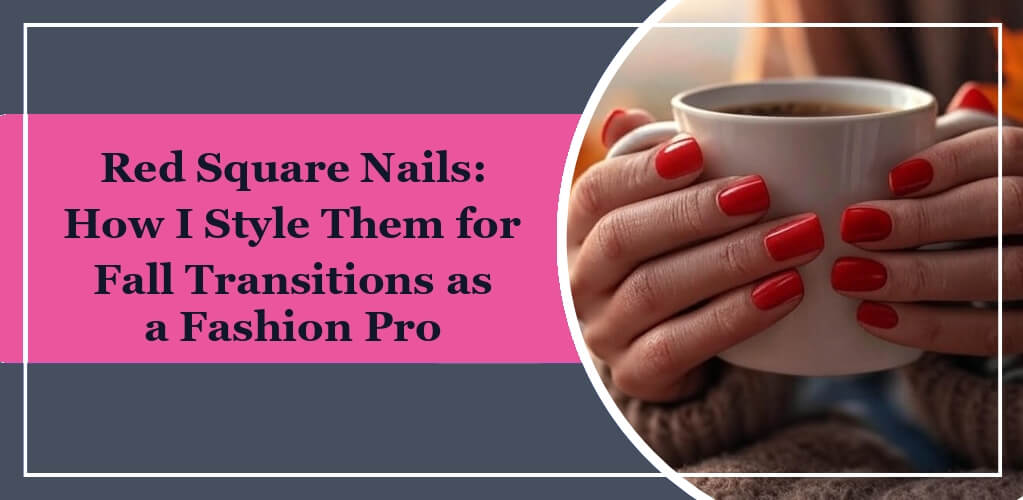
3. The Short & Chic Square Set
Not everyone wants long nails, and that’s okay! This shorter square set is my go-to for busy weeks. They’re practical (I can actually type properly) but still look polished and put-together. The corners are slightly rounded so they don’t catch on everything—a game-changer if you’re constantly digging through diaper bags or purses like I am.
4. The Glitter Gradient That Actually Looks Sophisticated
Glitter can go very wrong very quickly. Too much and you look like a teenager’s craft project. But this gradient set? The glitter is subtle, concentrated at the tips, and fades beautifully. It catches the light just enough to be noticeable without being overwhelming. I wore these during the holidays and felt festive but still classy. Don’t ask me why, but the gradient application makes them look like a professional nail artist did them by hand.
5. The Matte Velvet Finish
Matte nails are having a moment, but getting that perfect velvety finish with regular polish is nearly impossible. This press-on set nails it (pun intended). The matte finish is consistent across all nails, and it doesn’t get that weird shiny spot where you touch things. They feel luxurious and look incredibly modern. Bonus: matte finishes hide minor imperfections better than shiny ones, so if your application isn’t perfect (we’ve all been there), these are forgiving.
6. The “Are Those Your Real Nails?” Natural Set
Sometimes you just want your nails to look healthy, strong, and naturally beautiful. This set has that “my nails but better” vibe. They’re slightly translucent at the cuticle area, which mimics how natural nails grow. The length is medium—not too short, not too long. And the shape follows the natural curve of most people’s nail beds. I wear these when I want to look polished without looking like I’m wearing fake nails. They’re my secret weapon for job interviews and parent-teacher conferences.
7. The Bold Stiletto Statement
Okay, these aren’t for the faint of heart. But if you want to make a statement, these stiletto nails are incredible. The points are sharp but not dangerous, and the arch is dramatic without being uncomfortable. What makes them look professional rather than costume-y is the quality of the material—they have weight and substance, not that cheap plastic feel. I save these for special nights out when I want to feel like a boss. Literally had a bartender once say “those nails are intimidating in the best way.” Mission accomplished.
8. The Coffin Shape with Chrome Accent
Coffin nails are still trending, and this set does them right. The shape is balanced—not too wide at the tip, not too narrow. But what really sets them apart is the subtle chrome accent along one edge. It’s not full chrome (which can look tacky), just a thin line that catches the light. It adds dimension and makes them look like a nail artist did some detailed work. These are surprisingly versatile—I’ve worn them with both casual jeans and fancy dresses.
9. The Short Oval with Delicate Design
For those who love a little artwork but don’t want anything too loud, this set has tiny, delicate floral designs on a few accent nails. The designs are actually under the top coat, so they don’t feel raised or bumpy. And because they’re on shorter oval nails, they feel feminine and elegant rather than overwhelming. I love that the design isn’t on every nail—just a few as accents. It feels intentional and artistic, not like you bought pre-decorated nails from a discount store.
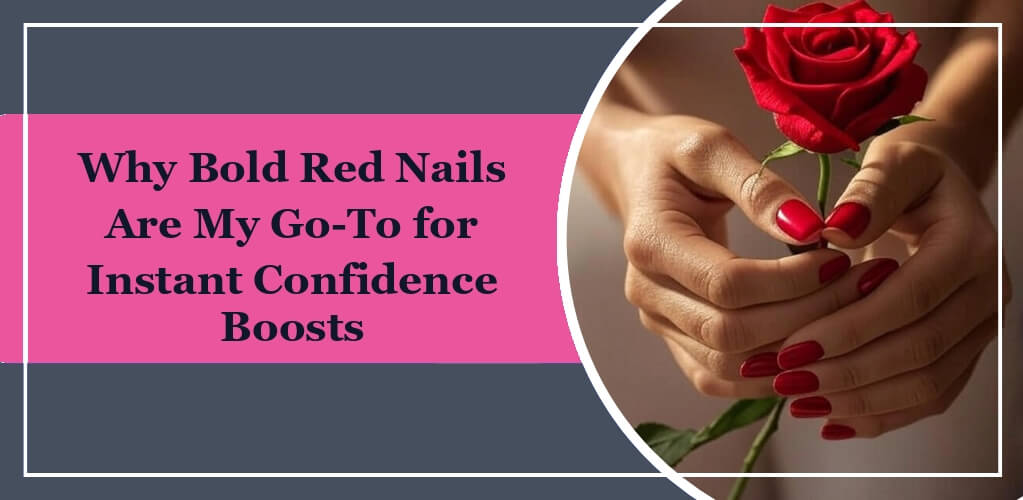
10. The Classic Red That Won’t Chip
Every woman needs a perfect red nail in her arsenal. But red polish shows every chip and flaw. This press-on set gives you that classic, timeless red manicure without any of the maintenance. The color is rich and opaque—none of that streaky application you get with red polish. And because they’re press-ons, the color is consistent on every nail. No more doing three coats to get even coverage! I keep a set of these in my drawer for emergencies. You know, those “I need to look put together in 10 minutes” emergencies that happen more often than I’d like to admit.
My Personal Application Secrets (That Actually Work)
Even the best press-ons won’t look professional if you apply them wrong. Here’s what I’ve learned through years of trial and error:
First, prep is everything. Clean your natural nails with alcohol, push back your cuticles gently, and lightly buff the surface. Not enough to damage your nails, just enough to remove the shine. This gives the adhesive something to grip.
Second, size them properly. This might seem obvious, but take the time to try each size on each finger. The nail should cover your natural nail from side to side without overlapping onto your skin. If it’s too wide, it’ll look bulky. If it’s too narrow, you’ll see gaps.
Third, less is more with adhesive. Whether you’re using glue or adhesive tabs, you don’t need a ton. A small bead of glue in the center of your natural nail is enough. For tabs, make sure they’re centered and smooth out any bubbles.
Fourth, press and hold. After you place the nail, press down firmly from cuticle to tip for 30 seconds. Seriously, count it out. This ensures full contact and prevents lifting at the edges.
And finally, don’t get them wet for at least an hour after application. I know, it’s tempting to test them out immediately, but give the adhesive time to set properly. I usually apply mine at night before bed—that way they have all night to bond.
Why I Specifically Love Eleglara’s Approach
Full disclosure: I work with Eleglara, but I started using their products before we ever collaborated. There were a few things that initially drew me to their brand, and they’re the reasons I still recommend them.
First, their Jelly Gel formula. It’s this perfect middle ground between too hard and too soft. The nails have flexibility so they don’t snap, but they still feel substantial. And the shine is incredible—it really does look like gel polish.
Second, they’re VOC-free. As a mom, I’m careful about what chemicals I’m exposed to, especially during pregnancy (though that ship has sailed for me now!). Traditional nail glue smells strong for a reason—it’s full of volatile organic compounds. Eleglara’s adhesive is much gentler. You can actually apply these in a room with other people without clearing them out first.
Third, the 24-piece sets. Most brands give you 10-12 nails per set, which means if you mess up one application, you’re out of luck. Or if your nails are different sizes (like mine), you might not have the right sizes. With 24 pieces, you have extras for mistakes, and you’re more likely to find the perfect fit for every finger.
And finally, they’re beginner-friendly. The instructions are clear, the adhesive tabs are included if you don’t want to use glue, and the nails themselves are forgiving to apply. I’ve recommended them to friends who’ve never worn press-ons before, and they’ve all had success on their first try.
The Real Test: Do They Survive Real Life?
Here’s the thing about professional-looking nails: they need to survive actual life. Not just Instagram photos. So let me tell you how these hold up.
I’ve worn Eleglara nails while doing dishes, giving my toddler baths, typing all day for work, and even during that one time I had to assemble furniture (not recommended, but sometimes you gotta do what you gotta do). With proper application, they last me 7-10 days. Sometimes longer if I’m careful.
The removal is important too. Soak them off properly—don’t just rip them off! I use warm water and a little oil around the edges to loosen the adhesive. It takes maybe 10 minutes, and my natural nails are completely unharmed underneath.
Honestly, the biggest compliment I get isn’t about how good my nails look—it’s when someone says “wait, those are PRESS-ONS?” That moment of surprise tells me they look professional enough to fool even beauty-savvy people.
Final Thoughts From Your Beauty-Obsessed Friend
Look, I’m not saying press-ons will completely replace salon visits for everyone. Sometimes you want that pampering experience, and that’s valid. But for everyday life, for busy weeks, for when you want amazing nails without the time or cost commitment? Modern press-ons are absolutely worth trying.
The technology has improved so much that the difference between salon nails and high-quality press-ons is barely noticeable to anyone but you (and your wallet). And with sets available in every style imaginable, you can change your look as often as you change your mind.
My advice? Start with one of the more natural-looking sets if you’re new to press-ons. Get comfortable with the application process. Then branch out into bolder styles. It’s like having an entire nail salon in a box, available whenever you want it.
And if you have questions, seriously, ask me. I’ve made every mistake possible with press-ons, so I can probably help you avoid them. Because at the end of the day, we all just want to feel put together, even when life is anything but. And sometimes, amazing nails are the easiest way to get there.