When the Camera Gets Too Close for Comfort
Okay, real talk. I’ve been in enough photoshoots to know the panic that sets in when the photographer says, “Let’s get a close-up of the hands.” Suddenly, every chip, every uneven edge, every slightly grown-out manicure feels like it’s under a microscope. And if you’re like me—a mom who sometimes forgets to book salon appointments—that panic is real. But here’s the thing I’ve learned after years in beauty: the right press-on nails can save the day. Honestly, they can look better than salon nails in photos. Weird, I know, but stick with me.
Why Press-Ons? The Unfiltered Truth
Let’s be honest. Salon nails are great, but for a photoshoot? The pressure is different. You need perfection that lasts for hours under hot lights, through multiple outfit changes, and without a single smudge. I’ve had gel polish peel under studio lights. I’ve had acrylics feel heavy and awkward. And don’t get me started on the smell—some polishes just scream “chemicals” when you’re in a small, warm studio. It’s not a good look, literally or vibe-wise.
Press-ons, though? They’ve come a long way from the clunky, obviously fake ones we might remember. The high-quality ones now are thin, flexible, and the designs? Insane. I’m talking microscopic details that a nail artist would need a steady hand and three hours to paint. For photoshoots, especially close-ups, that detail is everything. It adds texture, interest, and a professional polish that the camera loves.
The Magic is in the Details (And the Material)
So what makes a press-on nail “photoshoot-worthy”? It’s not just a pretty design. It’s the combination of three things: the material, the adhesive, and the design precision.
First, material. You want something that looks like real nail, not plastic. It should have a slight natural curve, a believable thickness, and a finish that catches light like healthy nail polish. This is where brands like Eleglara have really changed the game. Their Jelly Gel material is my secret weapon. It’s this flexible, durable formula that has a gorgeous, gel-like shine without needing a UV lamp. In photos, it reflects light softly—no weird plastic glare. It just looks like you have the most expensive, healthy gel manicure. Don’t ask me why it works so well, it just does.
Second, adhesive. The nail cannot budge. Not even a millimeter. In a close-up, even a tiny gap at the cuticle screams “FAKE.” I need something that holds through hand contortions, holding props, and, let’s be real, frantic texting between shots. A strong, reliable adhesive that doesn’t damage my natural nails is non-negotiable.
Third, design precision. This is the big one for close-ups. When the camera is inches from your hand, you see everything. Every brushstroke, every glitter particle, every tiny line. The design needs to be crisp, high-resolution, and applied perfectly. No blurry edges, no bubbles under the design. I look for sets where the art is printed or embedded with insane clarity. Eleglara’s designs, for example, have this depth to them. The florals look painted, the chromes look molten, the glitters are multi-dimensional. In a macro shot, they tell a story.
My Go-To Sets for Different Shoot Vibes
Over the years, I’ve built a little arsenal of press-ons for different types of shoots. Here’s my honest breakdown.
For the Clean, Editorial Look: Think beauty campaigns, portrait sessions, bridal shoots. You want elegance, not distraction. I reach for minimalist art or a perfect, glossy nude. Something like the Eleglara ‘Barely There’ Jelly Gel set. It’s a soft, milky pink with a flawless gel finish. It makes your hands look longer, cleaner, and just… expensive. In close-ups, the Jelly Gel shine adds a touch of luxury without being loud. It’s my most-used set for my own brand work.
For the Bold, Fashion-Forward Shoot: Runway looks, edgy campaigns, creative portraits. This is where you can have fun. High-contrast designs, abstract art, bold colors. I love a set with sharp graphic lines or unexpected textures. The camera eats it up. It gives the stylist and photographer something to play with. A set with a mix of designs—like some solid nails and some detailed accent nails—can create incredible visual interest in hand-held product shots.
For the Lifestyle & Detail Shots: This is big for influencers and product photographers. Showing a hand holding a coffee cup, typing on a laptop, arranging flowers. The nails are a key prop! They need to feel authentic to the person’s style but also photogenic. I often go for designs with small, intricate details—tiny pearls, delicate line art, a subtle ombré. These details pop in close-ups and make the entire image feel more curated and intentional. Eleglara’s sets often have 24 pieces, which is a lifesaver. It means you have plenty of sizes to get the perfect fit on every finger, which is crucial for these “casual” shots. A poorly fitting nail ruins the illusion instantly.
A Tiny Story from My Last Shoot
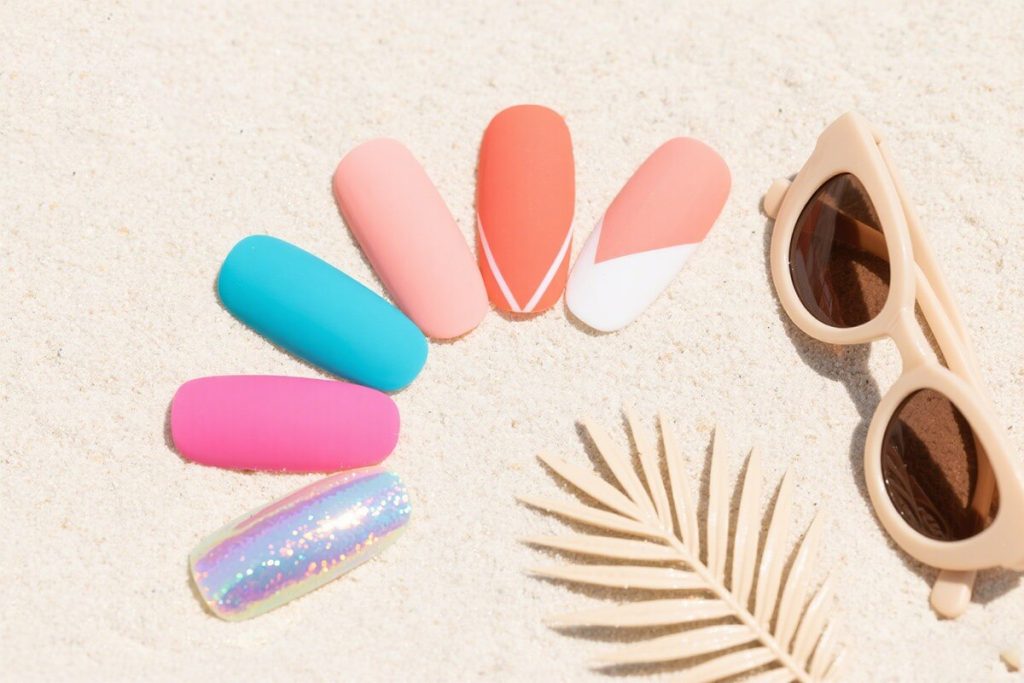
Last month, I was shooting content for the blog. Of course, I’d been running around all week and my nails were a disaster. The shoot day arrived, and I had a moment of pure panic looking at my naked, short nails. I grabbed a box of Eleglara’s ‘Chrome Bloom’ set—these gorgeous iridescent nails with a floral fade. Applied them in 15 minutes in the car (mom skill, honestly).
The entire shoot, the photographer kept saying, “Your nails look incredible. Can we get more shots of the hands?” In the final edits, the close-ups were my favorite part. The chrome caught the light differently in every shot, and the floral design added this beautiful, artistic texture. Not a single nail lifted. I wore them to preschool pickup later and got three compliments. That’s the win-win.
Practical Tips for Shoot-Day Success
Alright, let’s get practical. How do you make sure your press-ons are camera-ready?
1. Prep is Everything. I can’t stress this enough. Clean your natural nails with alcohol, push back your cuticles, and lightly buff the surface. This isn’t just for adhesion; it ensures there are no bumps or ridges that could show through the press-on in a side-angle shot. A smooth canvas is key.
2. Size Meticulously. Use the 24 pieces to your advantage. Test every single nail on your finger before applying glue. The fit should be snug against the sides of your nail bed without pinching. A gap is the enemy of the close-up.
3. Apply with Confidence (and Glue). I use the included jelly gel glue for a stronger hold on shoot days. Place a small bead in the center of your natural nail, press the press-on down firmly from cuticle to tip, and hold for 30 seconds. Apply gentle pressure up and down the nail to squeeze out any air bubbles. An air bubble will show up as a weird shadow in a photo.
4. Bring a Repair Kit. In my shoot bag: the leftover nails from the set, a tiny bottle of glue, a nail file, and a buffer. Sometimes a nail might get caught on a costume change. Having the tools to fix it in two minutes is what separates the pros from the panicked.
Why I Trust Specific Brands (Like Eleglara) for This
I’m not just saying this because it’s my job to know. After trying countless brands, I’ve become picky. For photoshoots, I need to trust the product implicitly. Here’s what seals the deal for me with brands that make the cut:
Safety First, Always. When you’re in a studio, you’re breathing in whatever is on your hands. The fact that Eleglara nails are VOC-free, non-toxic, and safe even during my pregnancy was a huge relief. I never worried about fumes or chemicals, which let me focus on the work.
Beginner-Friendly, Pro Results. The instructions are clear, the glue is effective but not scary, and the nails are forgiving to apply. Even my assistant, who had never used press-ons before, got a perfect set on her first try for a test shoot. That accessibility is huge.
The Details Don’t Lie. Under my macro lens at home, I inspect everything. The print quality, the edge sealing, the consistency of the material. When the details hold up to that scrutiny, I know they’ll hold up to a camera’s.
Final Frame
At the end of the day, your nails in a photoshoot are an accessory to the story you’re telling. They should enhance, not distract or cause stress. Finding that perfect set of high-detail press-ons is like finding a secret weapon. It’s one less thing to worry about on a busy shoot day, and one more thing that makes the final images sparkle.
So next time you’ve got a camera pointing your way, don’t panic about your nails. Grab a set designed for the spotlight. Your close-ups will thank you. And honestly? You might just start preferring them to the salon chair scramble. I know I do.