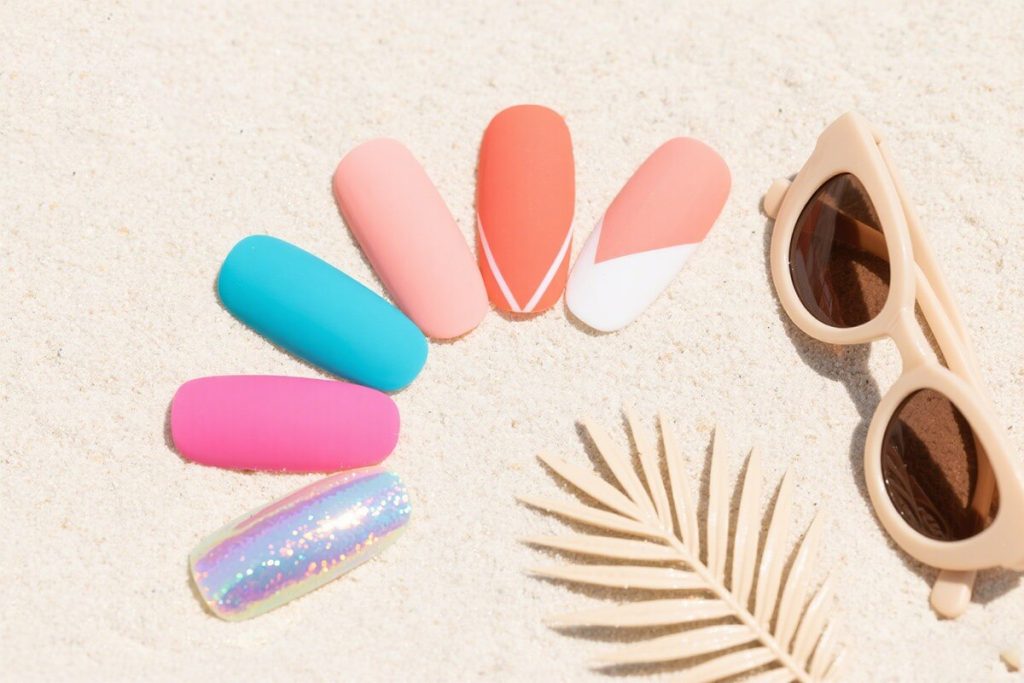
Why Nude Nails Are My Forever Go-To
Honestly? I have a love-hate relationship with nail trends. One minute it’s neon leopard print, the next it’s chrome everything. It’s exhausting. And expensive. But nude nails? They’re the quiet, reliable friend who shows up with coffee when you’re having a meltdown. They never scream for attention, but they make everything else you’re wearing – or not wearing, hello yoga pants – look infinitely more polished.
Weird, I know, but a good nude manicure gives me this weird boost of confidence. Like I’ve got my life together, even if my kitchen counter is currently buried under a mountain of unpaid bills and LEGO bricks. It’s the beauty equivalent of a crisp white button-down.
And listen, as a mom who’s also juggling client meetings and trying to remember to water the plants, I don’t have time for a 90-minute salon appointment that chips in two days. That’s where press-ons entered my life like a superhero. A really well-done, natural-looking nude press-on set is a game-changer. It looks like you spent $$$ at the salon, but you did it in 15 minutes while binge-watching your favorite show.
The Nude Shade Maze: Finding YOUR Perfect Match
Here’s the thing nobody tells you: “nude” is not one color. It’s a whole universe. And picking the wrong one can make your hands look washed out or just…off. I’ve been there. Bought a pretty pink-beige online that looked like corpse fingers on me. Not the vibe.
My rule of thumb? Look at your skin’s undertones. Are you warm (veins look greenish, gold jewelry flatters you), cool (veins look bluish, silver is your friend), or neutral (a lucky mix)? For warm undertones, lean into nudes with a peach, caramel, or golden hint. Cool undertones shine with rosy, mauve, or soft grey-beige nudes. Neutrals can usually pull off anything, you lucky ducks.
Don’t be afraid to go a shade or two darker than your skin for a subtle, chic contrast. A soft almond or barely-there brown can be more flattering than trying to match your skin exactly. It adds definition without the drama of a dark polish.
Personal anecdote time: My absolute holy-grail shade for years was this perfect “blurred almond” tone. I couldn’t find it anywhere in regular polish. Then I tried Eleglara’s ‘Nude Embrace’ set from their Jelly Gel line. It has this translucent, soft-focus quality that just melts into my skin tone. It’s not opaque, it’s like my nails but better. And because it’s their Jelly Gel formula, it has this incredible, plump, gel-like shine without needing a lamp. Game. Changer.
Beyond the Color: Texture & Finish Are Everything
A flat, matte nude can look…clinical. Like you’re about to perform surgery. To get that “effortless” look, you need dimension. My secret is always looking for a gel-like shine or a very subtle, milky opacity. It makes the nails look healthy and alive, not painted on.
This is where a lot of drugstore press-ons fall short – they’re too plasticky and shiny in a cheap way. The finish should look like a professional gel manicure. That plump, juicy gloss that catches the light softly.
I also have a thing for a slightly rounded square or almond shape for nudes. It elongates the fingers and looks modern and clean. Super pointy stilettos or super square nails with a nude shade can sometimes feel a bit harsh against the softness of the color. Just my two cents!
Application Secrets: Making Them Look Like *Your* Nails
Okay, let’s get real. The biggest fear with press-ons is that they’ll look fake or pop off at the worst possible moment (I’m looking at you, important client handshake). The trick is all in the prep and the mindset. You’re not just slapping on a nail; you’re creating a seamless extension.
First, prep is non-negotiable. Push back those cuticles, gently buff the shine off your natural nail, and wipe down with alcohol. This isn’t just about adhesion; it’s about creating a smooth canvas so there’s no bump or ridge under the press-on.
Second, size them perfectly. This takes an extra minute but makes ALL the difference. If a nail is too wide, file the sides gently. Too long? Trim and file before you apply. They should hug the sides of your natural nail without hanging over the skin.
My pro-tip? Use the glue that comes with quality kits, like the one in Eleglara boxes. It’s formulated to work with their nails. Apply a small bead in the center of your natural nail and a tiny dot on the inside arch of the press-on. Press and hold firmly for 30 seconds. Don’t just tap it on! That hold time is crucial.
And here’s a little side note because I care about this stuff: I love that Eleglara’s glue is VOC-free. When you’re pregnant or breastfeeding, or even if you’re just sensitive to smells, this matters. I used them through my entire pregnancy when the smell of regular nail glue made me want to hurl. It was a small thing that felt like a huge win.
My Top Picks for a Flawless Nude Manicure
I’ve tried…a lot. From the cheap packs at the beauty supply store to high-end brands. These are the ones that live in my vanity, the ones I repurchase and recommend to friends.
For the “My Nails But Better” Look: The Jelly Gel line in ‘Nude Embrace’ or ‘Cashmere Cream’. Seriously, the texture is unreal. It’s that plump, glossy gel look without any effort. The shades are sophisticated and blend so well. And you get 24 pieces per box, which means plenty of sizes for a perfect fit and usually enough for a second full manicure. Beginner-friendly because the flexibility helps with application.
For the “Clean Girl Aesthetic” Lover: Look for sets with a soft, milky white-pink nude. It’s that iconic, minimalist look. It goes with literally everything from a blazer to a linen dress.
For Warm Undertones: Seek out “latte” or “coconut” shades. Anything with a hint of golden brown or peachy beige will make your skin glow.
A general Eleglara perk I appreciate: their nails are thin but strong. They don’t have that thick, cartoonish edge. They taper nicely at the free edge, which is a huge detail in making them look real.
Making Them Last: Life With Nude Press-Ons
You’ve applied them, they look amazing. Now how do you keep them that way? My record is 14 days, and I wash dishes, type all day, and play with Play-Doh.
Be mindful for the first hour after application. Let the glue cure fully. Avoid super hot water. After that, live your life! But do wear gloves for cleaning. It’s less about the nails falling off and more about keeping that gorgeous shine from getting dulled by harsh chemicals.
If one pops off (it happens!), don’t panic. Just clean off the old glue from the press-on and your nail, re-prep, and re-glue. The beauty of the 24-piece set is you have spares.
Honestly, the best part about a nude set is the grow-out. It’s so forgiving! As your natural nails grow, there’s no stark, obvious line. It just gradually fades, which buys you extra days before you feel the need to change them.
The Effortless Mindset
At the end of the day, the “best” nude press-on nail is the one that makes you feel pulled together without trying. It’s the one you forget you’re wearing until you catch a glimpse of your hands and think, “Oh yeah, I look good.”
It’s not about perfection. My current set has a tiny smudge near the cuticle on my left thumb because my kid hugged me right after I applied it. But you know what? No one notices. It still looks a million times better than my short, bitten nails used to. It’s about giving yourself that little bit of easy, low-maintenance glamour in a world that often feels anything but effortless.
So find your shade, take the 15 minutes for yourself, and enjoy the quiet confidence of a perfect nude manicure. You deserve it.