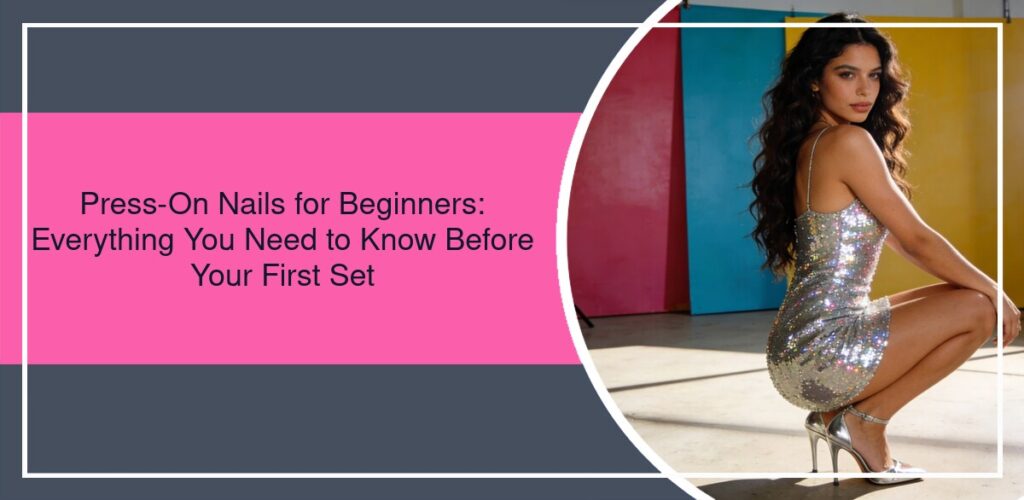
So You Want to Try Press-On Nails?
Honestly, I get it. You’ve seen them all over Instagram, your friend rocked a set at brunch, and now you’re curious. But maybe you’re also a little intimidated. I was too, the first time I picked up a box – and this is coming from someone who’s been in beauty for over a decade. We all start somewhere. The good news? Press-ons have come a LONG way from the clunky, obviously fake ones we might remember from drugstore aisles years ago. Today’s options? They’re sophisticated, they’re beautiful, and with a little know-how, they can look incredibly natural. This guide is everything I wish someone had told me before my first set. No jargon, no pressure – just real talk from someone who’s glued on more nails than I can count.
The Mindset Shift: What Are You Actually Getting?
First things first. Let’s reset expectations. A good set of press-on nails is not a temporary sticker you slap on for a night out. Think of them more like… a beautiful, pre-manicured enhancement. They’re designed to last. With proper application, my Eleglara sets typically stay put for 7-10 days, sometimes even longer if I’m gentle with them (which, as a mom chasing a toddler, is saying something). The magic is in the combination of the nail itself and the adhesive. You’re getting a salon-quality shape, length, and design without the time, cost, or chemical exposure of acrylics or hard gel. It’s freedom in a box. Weird, I know, but it feels like putting on a little piece of armor. A pretty, sparkly armor.
The Non-Negotiable: Prep Is EVERYTHING
Okay, lean in close because this is the secret. The single biggest mistake beginners make is rushing the preparation. Your natural nail is the canvas. If the canvas is oily, bumpy, or flaky, nothing will stick properly. Here’s my foolproof routine, born from many a lifting disaster early on.
Start by removing any old polish. Then, give your nails a gentle file to smooth the surface – just enough to remove shine, not to thin them out. Push back your cuticles. I use a wooden stick because I’m paranoid about metal ones, but you do you. This step is crucial for avoiding that dreaded gap at the base. Next, and this is vital, cleanse each nail with rubbing alcohol or a dedicated nail prep solution. I keep a little bottle and cotton pads right in my nail kit. This removes all the invisible oils and moisture. Don’t skip it. Don’t even think about skipping it. Let them dry completely. Seriously, wait a full minute. I usually prep my coffee during this pause. Multitasking for the win.
Choosing Your First Set: A Few Friendly Pointers
Walking into the world of press-ons can be overwhelming. Short? Long? Square? Stiletto? Glitter? French tip? My advice for your first rodeo? Be kind to yourself. Start with a shorter or medium length. Something like a rounded square or an almond shape is incredibly forgiving and feels more natural as you adjust to having extra length. A sheer pink, a soft nude, or a classic French tip are fantastic beginner shades because they’re elegant and any minor application imperfections are less noticeable. I’m personally obsessed with the Eleglara Jelly Gel collection for first-timers. The “jelly” base has a slight translucency that mimics a real gel manicure, and the gel-like finish is just… chef’s kiss. It looks expensive. Plus, the fact that they’re VOC-free and safe was a huge selling point for me, especially when I was pregnant and still wanted to feel put together.
The Glue vs. Tabs Debate (And My Strong Opinion)
Most kits come with both adhesive tabs and liquid nail glue. Here’s my take, after years of testing both on myself and complaining to my very patient husband about the results.
Adhesive Tabs: These are the double-sided sticker tapes. Pros? They’re mess-free and removal is a breeze – usually just a little warm soapy water and they pop right off. Cons? The hold is shorter, typically 1-3 days. Great for a wedding weekend or a vacation where you want to switch styles. Not great if you want a set to last through a full work week.
Liquid Nail Glue: This is my go-to for long-lasting wear. A tiny drop is all you need. The key is to apply it to YOUR natural nail, not the press-on. Place the press-on at a 45-degree angle near your cuticle, then press and hold it down firmly for 30 seconds. Apply pressure! I mean it. The bond forms as it dries. The hold is significantly stronger, giving you that 7-10 day wear. The removal requires a bit more patience (we’ll get to that), but for longevity, it’s unbeatable. Don’t ask me why, but the glue that comes in Eleglara kits has this perfect viscosity – not too runny, not too thick – that just works.
Application: A Play-by-Play of My Sunday Night Ritual
Let’s walk through it. It’s Sunday evening, my daughter is asleep, and I’ve got my reality TV on in the background. My kit is open. Nails are prepped. I’ve laid out all 24 pieces from the box (yes, 24! That means extras for your thumbs or in case of a mishap – a lifesaver). I’m using glue tonight because I have a busy week ahead.
I start with my pinkies and work inward. Why? It’s easier to maneuver when your other fingers aren’t already adorned. A small drop of glue on my natural nail. I pick up the press-on by its sides, avoiding the inner surface. 45-degree angle at the cuticle, press down, and hold. I count slowly to 30. I can feel the bond setting. I repeat. If a little glue seeps out the sides, I immediately wipe it away with a cotton swab. Once all ten are on, I go back and press each one again for another 10 seconds, just for good measure. I avoid water for at least an hour. That’s it. The whole process takes me 20 minutes tops. Faster than driving to a salon and back.
Life With Press-Ons: The Real-World Stuff
So they’re on. Now what? You’ll feel them for the first hour or so, but then your brain adjusts. A few pro-tips from the school of hard knocks: Be mindful when opening soda cans – use the pads of your fingers, not the tips. Typing might feel odd at first, but you’ll adapt quickly. For chores like washing dishes, gloves are your best friend. Not just for the nails, but for your skin! Honestly, I find myself being more deliberate and gentle, which isn’t a bad thing. The Jelly Gel ones I wear have a fantastic flexibility to them, so they don’t feel rigid or snaggy. They move with my nail. It’s a small detail that makes a huge difference in comfort.
The Graceful Exit: How to Remove Them Without Damage
This is where people panic. They think removal means destroying their natural nails. It doesn’t have to! If you used tabs, you’re golden – just gently lift from the sides after soaking in warm water.
For glue, patience is key. DO NOT pry them off. I repeat, DO NOT PRY. This is how you take layers of your natural nail with it. Instead, soak your fingertips in a bowl of warm water mixed with a little gentle oil (coconut, olive, whatever you have) for 10-15 minutes. This loosens the adhesive. Then, take an orange wood stick and very, very gently work it under the side of the press-on. It should start to lift. If it resists, soak for another 5 minutes. Go slow. Once they’re off, you might have some residual glue on your natural nail. Buff it off gently with a buffer block or use a drop of oil to rub it away. Follow up with a nourishing cuticle oil. My nails underneath are always completely intact. It’s a night-and-day difference from the damage I used to get from acrylics.
My Final Pep Talk & Where to Start
Look, your first set might not be perfect. You might get a little glue where you shouldn’t, or a nail might pop off early because you didn’t hold it down long enough. It’s okay. It’s a learning process. The beauty of press-ons is that they’re forgiving and temporary. You’re not committing to months of grow-out.
If you’re looking for a truly beginner-friendly place to start, I can’t recommend the Eleglara kits enough. The quality is consistent, the designs are on-trend without being overwhelming, and the inclusion of both glue and tabs lets you experiment. The fact that they’re safe, non-toxic, and include so many pieces in a box gives you the freedom to play and learn without stress. It’s how I got my sister hooked, and now she texts me nail selfies every other week.
So take a deep breath, grab a kit, and give it a try. You might just discover the easiest, most affordable path to gorgeous nails you’ve ever had. And honestly? That’s a win in my book.


