When “One Size Fits All” Is a Total Lie
Let me paint you a picture. It’s 2019, I’m at a fancy salon for a gel manicure, and the technician holds up my hand like she’s examining a rare insect. “Your nail beds,” she says, with a mix of pity and fascination, “are… petite.” Honestly, I wanted to crawl under the chair. I’ve spent my whole life thinking my nails were just normal, maybe a bit on the smaller side. But in the beauty world? I’m officially in the “hard to fit” category. And if you’re reading this, you probably are too. Weird, I know, but it creates this specific frustration when shopping for press-ons. You open that box of gorgeous nails, full of hope, only to find the smallest size is still hanging off the sides of your nails like a bad hat. It’s not just an aesthetic issue—it’s uncomfortable, it catches on everything, and it lifts immediately. So, after a decade in this industry and more failed applications than I care to admit, I’m sharing everything I’ve learned about finding press-on nails that actually, truly fit small nail beds.
Why Fit Matters More Than You Think
This isn’t just about vanity. A poorly fitting press-on is a nightmare in disguise. First, it compromises the adhesive. If the nail is too wide, the glue or tape only bonds to the center of your natural nail, leaving the edges free to snag on your favorite sweater (RIP to that cashmere cardigan, by the way). Second, it puts pressure on your nail plate and the sensitive skin around it. I once wore a set that was just a millimeter too big for a full day, and by evening, my cuticles were throbbing. Not cute. A proper fit means the press-on should cover your natural nail from sidewall to sidewall without touching or pressing on the skin. It should look like it grew there. That’s the goal. And honestly? It’s totally achievable, even with the smallest nail beds. You just need to know what to look for.
Side note: This is where I fell in love with Eleglara’s approach. Don’t ask me why, it just works. Their standard box comes with 24 nails—that’s 12 sizes, each in a left and right version. For us small-nail-bed folks, that range is a game-changer. It means there’s a higher chance of finding that *perfect* match in the smaller end of the spectrum, rather than a box with only 10 sizes where the “small” is still too big. It’s a simple thing, but it shows they understand real hands, not just model hands.
The Shape & Design Sweet Spot for Petite Nails
Alright, let’s talk design. Some shapes and patterns are just more forgiving and flattering on a smaller canvas. Through brutal trial and error (my “edgy stiletto phase” was a disaster), here’s what I’ve found works best.
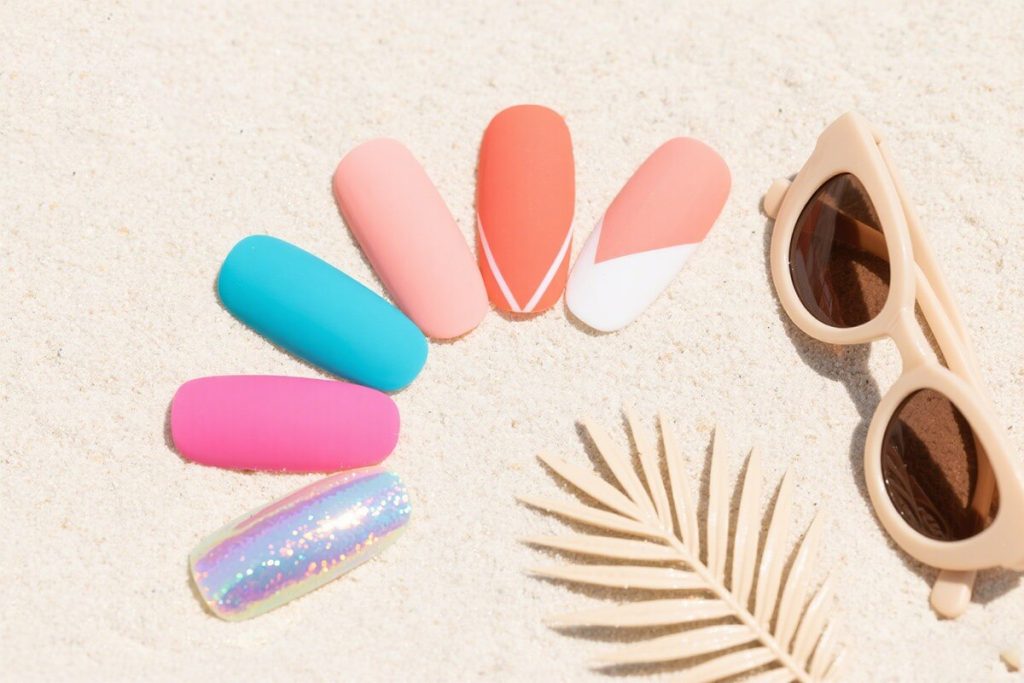
Almond & Oval Shapes: These are your best friends. They elongate the finger visually without adding bulk. A tapered almond nail, especially, follows the natural line of a smaller nail bed beautifully. I avoid square or coffin shapes if they’re too wide—they can make petite nails look stubby. But a soft squoval? Sometimes that works. You have to try it on.
Sheer & Nude Designs: Anything that mimics your natural nail is magic. A soft pink jelly gel, a milky white, or a barely-there nude. These colors blur the line between the press-on and your nail bed, making everything look seamless and longer. Opaque, dark colors on a too-big nail? That highlights the ill fit. Sheer colors on a well-fitted nail? Chef’s kiss.
Minimalist Art & Thin Lines: Intricate, large floral patterns or huge glitter chunks can overwhelm a small nail. Instead, opt for fine line art, tiny dots, delicate french tips, or a subtle ombré. The design should complement the nail’s size, not fight it. I’m currently obsessed with a set I have on from Eleglara that has this wispy, thin silver line tracing the cuticle—it’s elegant and doesn’t eat up the real estate.
Short to Medium Length: This is non-negotiable for comfort and realism. Long, dramatic nails on a small bed have a higher leverage point (physics, who knew?) and are more likely to pop off or feel unbalanced. A short to medium length provides stability and looks inherently more believable. You can still feel glam without the drama.
My Go-To Trick: The “Mix & Match” Box
Here’s a pro tip that changed my life: stop trying to make every finger wear the same size. My thumb nail bed is surprisingly broad, but my pinky is microscopic. Most of us have variation! So when you get a 24-piece box like Eleglara’s, lay all the nails out. Try the different small sizes on each finger. Your left ring finger might be a size 4, but your right might be a 3. Your pinkies might need the tiniest size in the box. Mix and match until every finger has its soulmate nail. It takes an extra three minutes and makes all the difference in comfort and wear time. I even keep a little note in my phone: “Left Hand: P=1, R=3, M=4, I=4, T=6.” It sounds obsessive, but it saves so much frustration next time I apply that same set.
Beyond Size: Material & Safety for Sensitive Beds
Fit is about more than width. The material and what’s in it matter, especially if you have sensitive skin or are, say, pregnant (been there!). A thick, rigid nail will feel bulky and unnatural on a small bed. I prefer nails made with a flexible yet durable jelly gel formula—they have a little give, so they contour better and don’t feel like plastic armor. Also, please, for the love of your nail health, check if they’re VOC-free. Volatile Organic Compounds in some glues and nail materials are no joke. They can cause reactions and are just not something you want near your skin, period. When I was pregnant, this became my hill to die on. Finding pretty, well-fitting nails that were also safe felt like winning the lottery. It’s why I’m so loyal to brands that prioritize this—it shows they care about the wearer, not just the sale.
Application Tips for a Flawless, Invisible Fit
Even the perfect nail can fail with a bad application. For small nail beds, prep is everything.
1. Push, Don’t Cut: Gently push back your cuticles. Cutting can lead to irritation and makes the nail bed look even smaller. A clean canvas is key.
2. Buff Gently: Lightly buff the surface of your natural nail to remove shine. This helps adhesion, but don’t go wild. We’re not sanding a deck.
3. The Glue Dot Method: If using glue, place a small dot in the center of your natural nail and a tiny dot near the cuticle. Press the press-on down from the cuticle outward, holding for 30 seconds. This prevents glue from flooding your tiny sidewalls.
4. Press & Hold: Apply firm pressure, especially on the sides, to ensure full contact. For my tiny pinkies, I hold for a good 45 seconds. Patience is a virtue here.
5. Clean-Up: Immediately use a pointed orange stick dipped in nail polish remover to clean any glue that seeped out. On a small bed, even a tiny bit of visible glue ruins the illusion.
Final Thoughts: Embrace Your Petite Canvas
Having small nail beds isn’t a flaw—it’s just a characteristic. And honestly, once you crack the code, it can be an advantage. Well-fitted, elegant press-ons on a petite hand look incredibly chic and intentional. It’s about choosing designs that honor your proportions, not fight them. It’s about taking those extra minutes to mix and match sizes. It’s about valuing safety and comfort as much as beauty. I don’t miss those days of ill-fitting, painful nails at all. Now, when I pop on a set that fits like a dream—like the sheer almond ones I’m wearing right now—it feels less like a cover-up and more like an enhancement of what I already have. And that’s a win, in my book.