Why Some Nails Look Gorgeous IRL But Disappear on Camera
Okay, real talk moment. I’ve been in this beauty game long enough to know that what looks stunning in your bathroom mirror can sometimes look… meh… in photos. And honestly? It drives me nuts. Last month, I wore these gorgeous iridescent press-ons to a friend’s wedding—they shimmered like crazy in sunlight, everyone complimented them. Then I saw the photos. My hands looked like I was wearing clear gloss. Zero impact. Weird, I know.
Photogenic nails aren’t just about being pretty—they’re about having enough visual weight, contrast, and texture to translate through a lens. And as someone who’s been testing press-ons for years (and taking approximately a million photos for my blog), I’ve learned which ones actually photograph well versus which ones fade into the background.
Here’s the thing—it’s not just about color. Length, shape, finish, even how the light hits the surface… all of it matters. And don’t get me started on how different lighting (natural vs. flash vs. indoor) can completely change how your nails look. It’s enough to make you want to throw your phone across the room sometimes.
The Camera-Love Checklist: What Makes Nails Photograph Well
Let’s break this down. After testing dozens of sets—some from my own collection, some from Eleglara’s shop—I’ve noticed patterns. Nails that photograph beautifully usually check at least three of these boxes:
Contrast against your skin tone. This is huge. If you have fair skin, deep colors or metallics pop. Medium skin? Jewel tones and warm neutrals sing. Darker skin? Brights, pastels, and anything with a metallic or glossy finish catches the light beautifully. It’s not rocket science, but it’s easy to overlook when you’re just choosing what looks pretty in the box.
Defined shape. Rounded squares, almonds, coffins—these shapes have clean lines that read clearly in photos. Super rounded or overly tapered shapes can sometimes look blurry or less intentional. And length? Medium to long lengths photograph better than very short nails because they create more visible surface area. But here’s my personal rule: if you’re not used to long nails, don’t go crazy. Nothing looks worse in photos than hands that look uncomfortable!
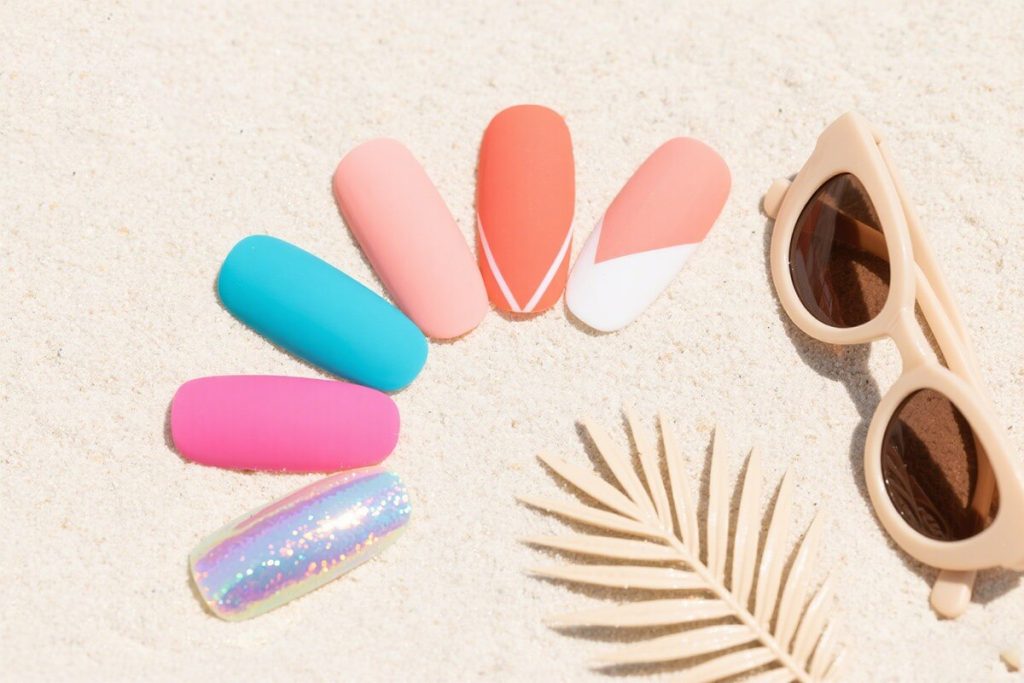
Finish with dimension. Glossy is classic, but matte, jelly, chrome, and holographic finishes add texture that cameras pick up. Matte finishes especially—they don’t reflect light the same way, so the color reads as richer and more saturated. Jelly finishes (like Eleglara’s Jelly Gel collection) have this translucent depth that looks incredible in natural light photography. Seriously, try them for golden hour photos—magic.
Scale-appropriate design. Tiny intricate patterns often get lost. Bold designs, color blocks, or simple negative space work better. Think of it like this: if you wouldn’t be able to see the detail from three feet away, the camera probably won’t either.
My Camera-Tested Picks (And Why They Work)
Alright, let’s get to the good stuff. These are sets I’ve personally worn and photographed extensively—some from Eleglara, some from other brands I rotate through. I’m including why each one works, plus little anecdotes from when I wore them.
First up: Eleglara’s Jelly Gel in ‘Rose Quartz’. This is my go-to for soft, romantic photos. The translucent pink with that jelly finish has just enough opacity to show up, but enough transparency to look natural and elegant. I wore these for my sister’s baby shower photos, and in every picture, my hands looked graceful and put-together without stealing focus from the moment. The 24-piece set meant I had plenty of sizes to get the perfect fit—which, side note, is crucial for photos because ill-fitting nails look obvious and cheap in close-ups.
For bold statement photos, I love the ‘Midnight Sky’ holographic set. Dark blue base with scattered holographic glitter? Camera candy. I wore these to a holiday party last year, and in every flash photo, they sparkled like tiny galaxies. The holographic particles catch light from every angle, so even if your hand is at a weird angle in the photo, there’s still visual interest. Plus, the square shape reads as modern and clean.
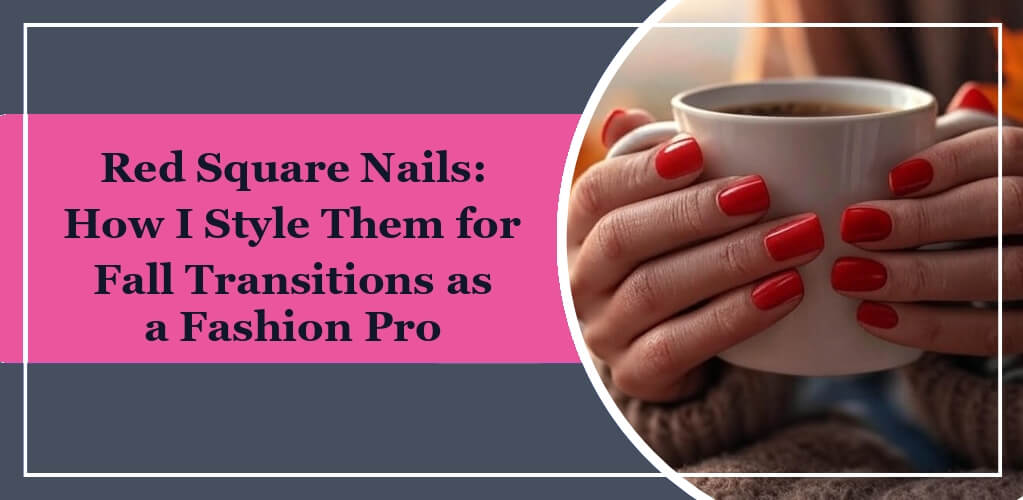
If you want something that looks expensive and editorial, try a matte burgundy or oxblood. I have a set from Eleglara’s classic collection in ‘Wine Night’ that photographs like a dream. Matte finishes absorb light instead of reflecting it, so the color looks richer and more saturated. I wore these for a fall photoshoot in the park, and against the orange leaves and my cream sweater? Perfection. They looked like I’d spent $100 at a salon, not $15 on press-ons.
For everyday photos (think Instagram stories, casual pics), I reach for ‘Barely There’ nudes with a glossy finish. These are beginner-friendly because they’re forgiving if your application isn’t perfect, and they make your nails look naturally long and healthy. The gloss adds just enough shine to catch light subtly. I wear these when I’m filming tutorials—they look professional without being distracting.
Shapes & Lengths That Flatter Different Hand Types on Camera
This is where it gets personal. Your hand shape matters! I have shorter fingers and a wider palm (thanks, genetics), so I’ve learned through trial and error what works.
If you have shorter fingers: Go for oval or almond shapes in medium length. They create the illusion of length. Avoid very square or very round shapes—they can make fingers look stumpier. And keep designs vertical (like stripes or French tips) rather than horizontal.
Long, slender fingers? Lucky you! You can pull off almost any shape. Coffin and stiletto look especially dramatic on camera. Just be mindful of length—if they’re too long, they can look costume-y in photos.
Wider palms or knobby knuckles (no judgment, I have them too): Rounded squares or squoval shapes balance everything out. Avoid extremely tapered shapes—they can emphasize width. And medium length is your friend.
Here’s a micro-story: I once wore super long stiletto press-ons to a blogger event. My hands looked like talons in every photo. Never again. Now I stick to lengths that are proportional to my fingers. Lesson learned.
Lighting Matters: How to Make Your Nails Pop in Any Photo
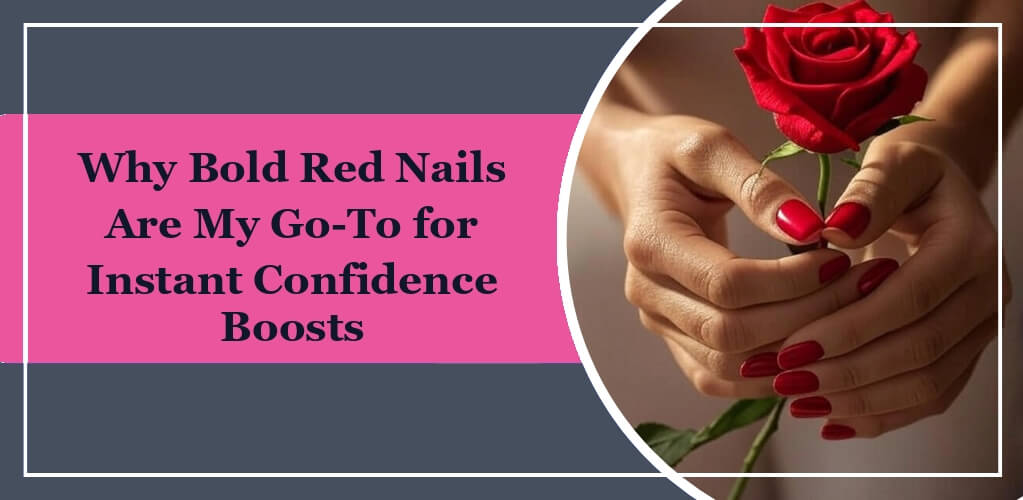
Indoor lighting, especially warm yellow lights, can wash out cool-toned nails. If you’re taking photos inside, lean toward warm colors (reds, corals, golds) or high-contrast shades. Flash photography loves metallics and glitters—they reflect the light beautifully. But beware of glossy finishes with flash—they can sometimes create hot spots or glare.
Natural light is the most forgiving. Early morning or late afternoon light (golden hour) makes everything look better, but especially jelly finishes, sheers, and nudes. Overcast days? Perfect for matte finishes and muted colors—the soft light brings out the richness without harsh shadows.
Pro tip: If you’re taking a close-up hand photo (like showing off a ring or holding a coffee cup), position your hand so the light hits the nails at a slight angle. Direct overhead light can flatten the look; angled light creates shadows and dimension.
Common Photo Mistakes (And How to Avoid Them)
I’ve made all these mistakes so you don’t have to. You’re welcome.
Mistake #1: Choosing colors that match your skin tone too closely. If you’re fair and you choose pale pink, your nails will disappear. Add contrast. Even if it feels bold in person, it often looks balanced in photos.
Mistake #2: Ignoring your nail beds. If you have short nail beds, avoid designs with a lot of negative space at the cuticle—it can make them look even shorter. Full coverage designs or French tips that start lower down work better.
Mistake #3: Forgetting about your surroundings. What are you wearing? What’s the background? If you’re wearing a patterned dress, simpler nails photograph better. Solid color outfit? Go bold with the nails. It’s all about balance.
Mistake #4: Over-designing. Sometimes less is more. One accent nail can be more photogenic than all ten nails with different patterns. Especially for events where you’ll be in lots of photos—you want your nails to look cohesive.
My Personal Go-To for Important Events
When I know I’ll be photographed a lot (weddings, parties, brand events), I almost always reach for Eleglara’s ‘Classic French’ with a twist. Either the jelly French or the metallic tip version. Why? It’s timeless, it goes with everything, and it photographs elegantly in any lighting. The white tip provides contrast, the natural base looks clean, and it elongates my fingers. Plus, it doesn’t clash with any outfit or background.
I wore the jelly French set to a wedding last summer, and I got so many compliments—not just in person, but on the photos people posted afterward. Several friends asked where I got my nails done. Felt pretty good to say “Oh, they’re press-ons!”
And because Eleglara’s sets are VOC-free and safe (I was still wearing them during pregnancy, which was a lifesaver), I never worry about skin reactions or fumes. As a mom, I appreciate that—I don’t have time for nail drama.
Final Thoughts: It’s About Confidence, Too
At the end of the day, the most photogenic nails are the ones that make you feel confident. If you feel awkward or uncomfortable, it shows in photos. So choose shapes and lengths you can live with. Practice wearing them before the big day. And remember—press-ons are temporary. If you try something and it doesn’t photograph well? No big deal. Take them off and try something else.
My biggest advice? Have fun with it. Experiment. Take test photos in different lighting. And don’t stress too much—because honestly, most people are looking at your smile, not your nails. But if you’re like me and you want every detail to be photo-ready? Hopefully these tips help.
Now go take some gorgeous hand selfies. You’ve got this.