Hey there, lovely! 💕
I can’t tell you how many times press-on nails have saved me—from last-minute dinner plans to those days when I just need a little extra sparkle (even if the rest of me is in yoga pants and a messy bun). 😄
After working in fashion and beauty for years—and now as a busy mom—I’ve truly come to love how easy and beautiful press-on nails can be. Especially with Eleglara’s jelly gel glue, they feel natural, last longer, and most importantly… don’t wreck your real nails.
If you’re new to the world of press-ons or just want a few fresh tips, here’s exactly how I apply mine to get that salon-fresh look, right from my kitchen table 💅✨
1. Clean Nails = Happy Nails
Start by washing your hands and giving your nails a good clean. I use a gentle soap and a bit of rubbing alcohol to wipe away oils. No lotions yet—let those nails stay dry for now so the glue holds well!
2. File, Shape & Buff
Next, I like to file my natural nails into a short, neat shape and gently buff the surface. Don’t go too hard—a soft touch gives the jelly gel glue something to grip without damaging your nail bed.
3. Pick Your Sizes
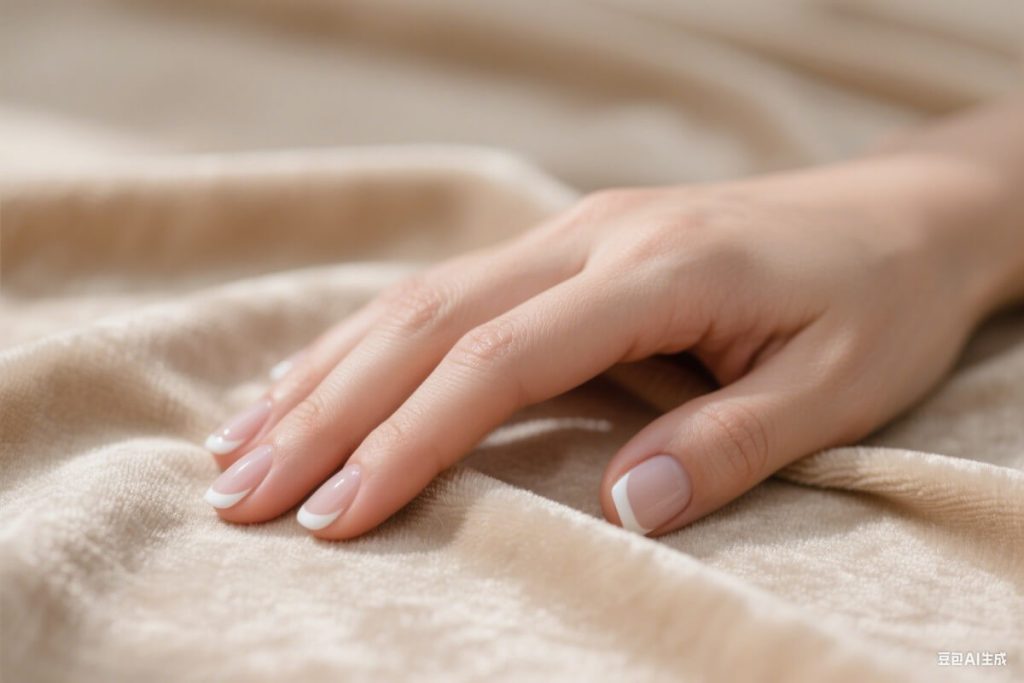
Lay out the press-ons in order of your fingers. Eleglara kits come with so many lovely shapes and sizes, so take a minute to find the perfect match for each nail. If one’s a little too big, a quick side-file will do the trick.
4. Apply the Jelly Gel Glue (This Stuff is Amazing)
Here’s where the magic happens. Add a small dot of Eleglara’s jelly gel glue to the center of your natural nail—just enough to cover when pressed down, but not so much that it oozes out.
It’s honestly one of my favorite parts of Eleglara nails. No harsh glue, no sticky tabs. Just this soft, comfy gel that holds like a dream and still feels gentle.
5. Press and Hold
Carefully press the press-on onto your natural nail and hold it down for about 30–60 seconds. I like to gently rock it side to side at first to help spread the glue evenly underneath. Then hold firm.
6. Avoid Water for a Bit
If you can, give your nails a little time to “set” before jumping into water. I usually do mine before bed or during nap time so they have time to settle before I dive into dishes or bath time.
7. File the Tips (Optional)
Sometimes the tips can be a little sharp or square depending on your set. I keep a soft file nearby to smooth out the edges for a more natural look. Totally optional—but I love the touch!
And Just Like That… You’re Ready
Honestly, there’s nothing like a fresh set of press-ons to make you feel polished (even if your to-do list is a mile long). With just a few simple steps and that jelly gel glue magic, you can go from “meh” to manicure-ready in minutes.
So pour a cup of tea, pop on your favorite playlist, and treat yourself to some pretty.
You deserve it.
Love always,
Sarah 💖